Monday, September 24, 2012

Be Careful What you Wish For...

I've heard the saying, "be careful what you wish for", as there is always the possibility that it might come true. I can only be happy that my wishes have been coming true and I have been blessed to be so busy doing what I love to do ... design, create and paint (and getting paid for it).

Here's a little about what I've been up to lately...


Here are a couple of new pieces I designed for a client.  Her name is Robin and it was very nice of her to send me photos of my finished art on display in her living room.   It kind of looks like a picture from a magazine. Robin has some great decorating skills!


I guess you can notice that the theme of these paintings is "birds" which is probably my favorite thing to include in my most recent designs. Robin had first seen a painting similar to these displayed in my studio and asked me to create some to match her decor. If you look closely on the painting on the left (near the bottom) you will see a "Robin" painted in with the other colorful birds. This of course was by design and requested by the client which adds a personal touch to the designs.


I've also been buried in deadlines creating new designs for my licensing partners. Sometimes I'm not sure where one day ends and the other begins.  I have been working with some very nice clients which really helps me survive in this crazy business. Lots of new stuff coming to market in 2013! Woo Hoo!


Things at the studio have been going well too!  Our big grand-opening show last February was a huge success so we, (the resident artists), are planning our second big OPEN HOUSE AND ART SALE of the year. Our fall show is scheduled for Friday, November 9th, 2012 from 6:00 to 10:00 p.m. with a $5.00 entry fee that includes one drink ticket.


We'll also have Cork and Olive Wine Bar at our event as well as live music and endless art fthat fills the halls and studios. If you live in Tampa or the surrounding areas, it's a night you won't want to miss! 


So mark it on your calendar and be sure to stop by studio #312 and say hello!

Oh, by the way, be sure to "LIKE" our facebook page to keep up to date with all the happenings at the Santaella Studios:  


Saturday, July 7, 2012

Give Your Imagination Wings

      I've always been a fan of the saying "Give Your Imagination Wings". The wings of your imagination can take you just about anywhere if you leave yourself open to the possibilities of your dreams. Imagination helps you visualize what could be, and make it real. 


   I am happy to share with you part of my new collection "Seize The Moment" recently released from Evergreen Enterprises. The tumbler features my art with a nice reminder to remember to "Give Your Imagination Wings". More new pieces debuting soon... 
Insulated Cup w/Straw 17oz, Seize the Moment


Wednesday, May 16, 2012

WHERE DOES THE TIME GO?


It's hard to believe how quickly time passes. I have been absent from my blog for a bit but that's only because there has been quite a buzz around my studio lately. I have been working and painting like crazy on all sorts of wonderful new product designs! So I promise that you will be pleasantly pleased to see all sorts of wonderful new items that will be available soon with my art on them.  So far this year I have been to Atlanta's Gift Mart, the CHA (Craft and Hobby Association) show in Anaheim and later this week I will be attending the Surtex Show/National Stationery Show (NSS) in New York. It's been amazing! I look forward to connecting with my creative peeps and checking out the trends in the NSS. Have a great day! 

Tuesday, February 14, 2012

HAPPY VALENTINE'S DAY

                   It's a day for HAPPY HEARTS to celebrate LOVE!


According to Wikipedia:  Saint Valentine's Day, commonly shortened to Valentine's Day, is a holiday observed on February 14 honoring one or more early Christian martyrs named Saint Valentine. It was first established by Pope Gelsasius in 496 AD, and was later deleted from the German Roman Calendar of saints in 1969 by Pope Paul VI.
The day first became associated with romantic love in the circle of Geoffrey Chaucer in the High Middle Ages, when the tradition of courtly love flourished. By the 15th century, it had evolved into an occasion in which lovers expressed their love for each other by presenting flowers, offering confectionery, and sending greeting cards (known as "valentines").
Modern Valentine's Day symbols include the heart-shaped outline, doves, and the figure of the winged Cupid. Since the 19th century, handwritten valentines have given way to mass-produced greeting cards.


        Wishing you and your loved ones a day of love, health and  happiness!

Thursday, January 5, 2012

"Hi Resolution - A New Year's Studio Meet and Greet" - Welcome to the Studio of "KAREN EMBRY DESIGNS"


I am thrilled that you have stopped by to see my studio!  I've been working on it for a little over a year now. For most of the people that know me, I have been promising that I would have a "show and tell viewing" of my new (well not so new anymore) studio for a while now and it's finally ready! In a sense I suppose that it will always be new in a way, in that it's always a work in progress and I am changing the decor on a regular basis. It simply never seems to be the same day in and day out and that's just what I LOVE about it! It's my studio and it can be whatever I want it to be! I am an artist, designer, author and I love to create! My main focus is licensing my art for product surfaces in the gift, home decor and craft industries. My design studio is where the process all begins...  


This building is actually a really cool place! My studio is on the third floor inside the historic Santaella Cigar Factory. The building itself is over 100 years old has several interesting tales that go along with it.


Would you have guessed that The Santaella Cigar Factory Building used to be one of Babe Ruth's favorite places to visit when he was in town??? The big "Bambino" would pop in and pick up a few boxes of his favorite cigars.Then there are also claims that the old building is haunted. In 2006, Tampa Ghost Watchers studied this building, but they never came to any specific conclusions. Maybe they know the "Ghost Busters"? Anyway, there are those that still say that there is the ghost of an old general that visits the halls from time to time. Occasionally we hear noises and wonder if it is just the sounds of a creaky old building or something else...???


You may ask how I came upon this intriguing place. I was an an art show last fall and overheard an artist talking about her studio space. I was all ears! She was nice enough to tell me about the old Santaella Cigar Factory in West Tampa that was home to an office supply business on the first floor, but the top two floors were studios rented to artists, photographers, architects and all sorts of other creative individuals. I headed over the same day to check it out.

Upon entering the building these are the first floor stairs welcoming visitors to the upper levels.  By the way...there is only one freight elevator in this building... and it is pretty old. So it is only used when absolutely necessary. You will definitely get your workout heading up the sets of steep stairs everyday! The brick on the wall is original from when the building was built in 1904. So cool!


By the time I approached the third floor, I knew this place was going to be just awesome!  Those are original hardwood floors...if they could only talk - what would they say about the history of this place?


Speaking of history...I found this great photo that shares the history of the Santaella building with it's workers rolling cigars in the early 1900's. Cigar Factories were a significant part of Tampa's history. Actually, my maternal grandmother and great-grandmother both worked in the cigar factories. Not his particular one, but back in the day there weren't a lot of work opportunities for women in other industries in this area.  


OK, this is the room and what I saw at first glance.  I agree, not much to look at.  My imagination kicked into high gear thinking of so many possibilities!  The more I looked at the entire area I began to feel that this would be the new home to Karen Embry Designs, all of my art supplies and so much of the other STUFF that creative people own - which includes a wide variety of "YOU NAME IT" odds and ends.


This studio is the only and smallest space that was left in the building for rent. I didn't need a huge area and besides if you give me TOO MUCH room I will fill  lit with TOO MUCH stuff. High ceilings give it good possibilities for storage space. Lots of work to be done! 


I was ready to transform this place! I brought in my ladder and paint supplies... and my portable heaters! In winter this building gets really cold. Not much insulation and of course there are no heating systems, so each artist is on their own to supply heat and air conditioning for their own individual units.


I primed and painted, and primed and painted... there was quite a bit of old paint in there that I was worried it might have lead in it, so everything needed to be covered with primer first.  The ceiling was a whole other story. There were tiny crevices in between the bead board that needed caulking...and I caulked every nook and cranny! My oh my, did my shoulders and back ache!! 


Once finished painting, what was I to do with these ugly floors? These were the original wood floors to, but the hallway original floors were in much better condition. These floors were a bit drafty too. My first thought was to paint them with outdoor porch paint. That should be durable enough for now... wait, on second thought...what about a carpet remnant?  Off to the flooring store!


Yes, I know - this is some pretty wild carpet, huh? The sales representative at the carpet showroom said they had some problems getting rid of this unusual pattern. Most people would not select something like this for their home, so I got a really SWEET deal on it. I LOVE IT!!! Funky and FUN!!! The studio is on its way to looking much better now.


Now it's time to find the furnishings. I had already scavenged a few pieces of vintage furniture that I found out in the halls when one of the other tenants was disposing of it. It was a couple of pieces of old furniture - a dresser and desk and I had some ideas of how to revamp it a bit and add personality to them. 


BEFORE...


AFTER!

You can see now that the room is being transformed. Adding in my personal effects and equipment is making this more like a studio home.


A collection of my art on the walls and samples of my licensed art add some interest to the room. 


This is the creative space that includes my desk and supply of necessary creative tools. (I told you I had lots of STUFF!)  The cabinet on the left was donated by friends - I also changed the knobs on this piece of furniture and added some check stripes to the top edge. FUN!


This is the view as you enter my studio...I wish it was always this neat! I only have the one window, but I have a nice view of the Tampa skyline that includes Tampa Stadium and downtown Tampa - plus my studio is only about a fifteen minute drive from home.


I found this corner shelf at the thrift store - it was only $19.00! Can you believe it? It was perfect for this space! I covered the inside shelves with some old scrapbook papers to make it look a little more vintage. I think I have found a way to combine whimsical and vintage. It's a little unusual, but I just LOVE the look!! I guess I could call it "whimtage"???? 


And of course what studio would be complete without a chandelier? It was a rescue piece and came from the Webster flea market. It used to be just plain white and no frills. I painted it bright gold then added the strung pearls, beads and hanging glass charms that I found at a yard sale. My daughter added the finishing touches with hand-made lace roses and lime green tulle. Pretty!!!!


 Buttons and beads...


 Glitter and flowers...


 Magazines ...


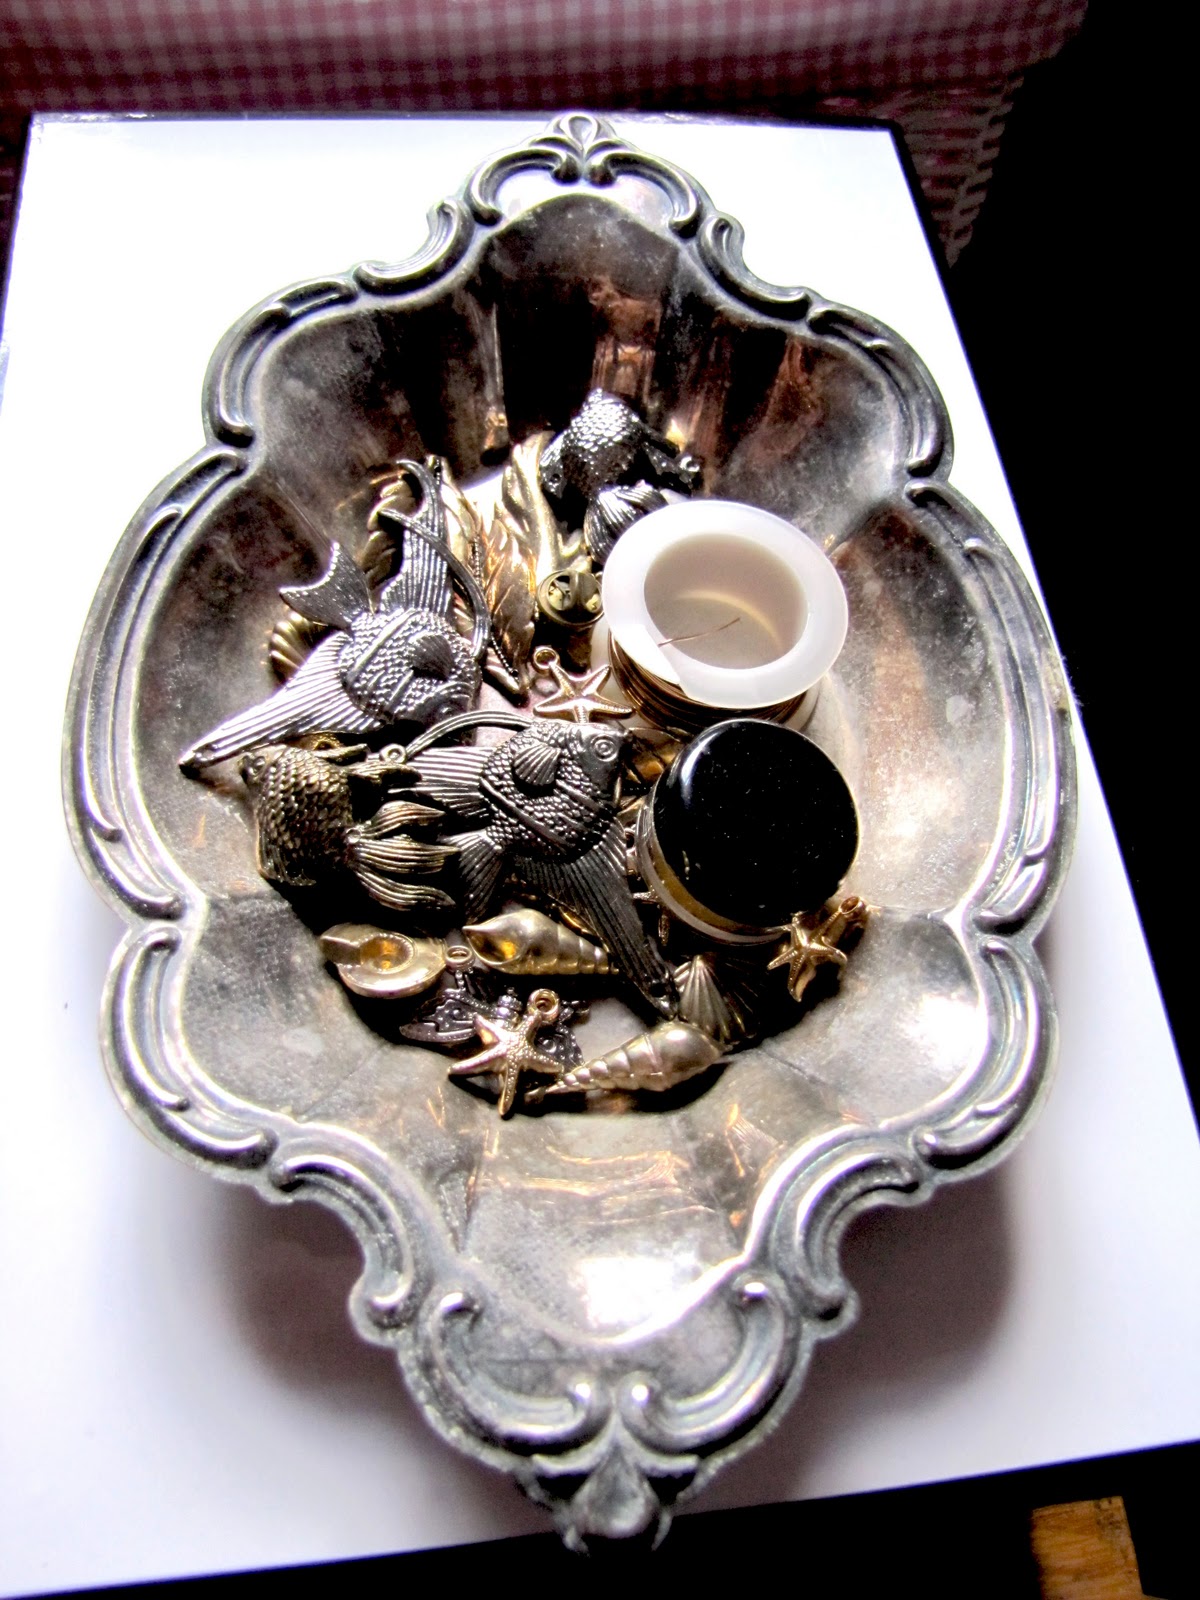
Vintage tin with collected baubles...


   My handmade jewelry designs and mosaics too!


 Acrylics...


 Gouache...


 Brushes...


and Books.


Ah yes, every studio needs a studio cat...


Thank you for visiting the studio of Karen Embry Designs. I have had so much enjoyment in creating an environment that is truly an inspirational place to create and design from my heart. I hope you enjoyed the studio tour and journey. It was really quite a progress from start to finish and I wanted to share it all with you.

I wish you the best for the NEW YEAR to come...much health, happiness, love and all of the good things in life!

Thanks also for following our "Hi Resolution - A New Year's Studio Meet and Greet" artist/designers blog hop.    

Hop over and visit my talented friends as they welcome in the New Year with a Studio Tour-


To go back to the last artist studio you visited click the Hop Backward arrow below:

  
To go ahead and visit the studio of the next blog click the Hop Forward arrow below:


Aaron Christensen
Barbara Johansen-Newman
Beth Logan
Brenda Pinnick
J. Wecker-Frisch
Karen Embry
Paula Joerling
Phyllis Dobbs
Samantha Walker
Sharon Himes
Shelly Comiskey
Sue Zipkin

Monday, December 5, 2011

"The NEW Dynamics of Art Licensing" Business Seminar

If you are a creative individual that is looking for the honest truth about the realities of entering the licensing field or helping your licensing career move forward in this industry, then this is a seminar that you won't want to miss! "The NEW Dynamics of Art Licensing" seminar encompasses extensive knowledge from Brenda Pinnick and Phyllis Dobbs and I. Together we have over 50 cumulative years of experience in art licensing, exhibiting at major trade shows and proven success with numerous licensed products available in the marketplace around the world!

In this seminar we will  share with you how the playing field has drastically changed over the last several years, what you need to do to succeed and the challenges you need to understand before investing your time, energy and money. We will be presenting this in a new and unique way and we truly believe you will be pleased with the wealth of information we can share from our own personal experiences in licensing. 


The topics covered will be an invaluable resource for you and your business. Seats are limited! You will need to sign up early to reserve your space and qualify for the one-time early bird discount! We look forward to having you join us. Just click on the "GO!" link above to learn more. Please feel free to contact me at karen@karenembry.com and I will be more than glad to answer any questions! 


The SKY is the limit!

Monday, November 14, 2011

"THAT IT WILL NEVER COME AGAIN IS WHAT MAKES LIFE SO SWEET"


"That it will never come again is what makes life so sweet"... (Emily Dickinson). I can't help but wonder what was on her mind at the time she said this. The fact that we only have one chance to experience each and every unique moment in our lives is certainly food for thought. We should never take a second of our wonderful existence for granted.

When I began designing this project, I thought that this quote would be appropriate for this new piece of cheerful wall art. I always have fun incorporating different mediums together to come up with one unique piece. I 'll be sharing with you step by step directions and some photos so you can create this canvas collage for yourself or as a gift.


Here is the supply list:

Supplies from Cousin Corporation: 

*18 inch chain "Jewelry Basics Collection" - (the chain to hang at the top of canvas) Item #: 3478036
*Thin chain, Item # 34718067
*5 piece Diamond Accent(Turquoise) Item #:34708052
*Crystazzi clear faceted beads, Item #: 3670004
*Crystazzi Pearls - Round 8 mm gold
*Gold Elegance 2 piece Head Pins, Item #:29497-10
*Gold Elegance 16 piece , 6mm jump rings, Item #: 29497-48

Other supplies:
*12" x 12" x 1" gallery wrapped canvas
*1 sheet white foam core board
*Exacto knife
*Floating Medium  by Plaid Enterprises 
*Brush - 1" wide
*Mod Podge - Plaid Enterprises
*Tulle - 2 pieces of tulle and 2 pieces of turquoise tulle. Each piece of tulle should be about 2 inches wide by 5 inches long. 
*Stencil (Plaid Enterprises)
*Stencil Brush
*Folk Art Paints (Plaid Enterprises): Yellow Ochre, Raw Sienna & French Vanilla (by Plaid Enterprises)
*2 eye screws with about 1/4" opening (brass or gold color)
*Pinking scissors
*Burlap scraps
*Dried flowers (6)
*Sticks/twigs (from your yard or garden)
*Needle and thread
*Sharpie black "paint" marker
*Thick and tacky glue
*Gold glitter
*White tissue paper
*Light blue/turquoise tissue paper
*Small jewelry pliers - these will be used to open & close the jump rings 


First step is to brush your entire canvas in vertical strokes with one coat of Floating Medium mixed with a small amount of Yellow Ochre paint (it should be somewhat transparent). Let dry.


  Stencil the pattern on your canvas using a stencil brush lightly loaded with Raw Sienna paint.


Using a needle & light beige colored thread, sew one pearl to the center of each stencil design.
Tip: Start the needle from the back of the canvas and push it out to the front, then back to the back (stitching close to the pearl). Repeat. Tie a knot in the thread in the back of the canvas.


    Cut two pieces of foam core board in a wavy pattern (about 3 inches wide by 12 inches long). Tear pieces of white tissue paper and using Mod Podge, cover the wavy pieces of foam core on top and sides. Let dry. 


Brush on a light coat of Yellow Ochre. Let dry. Then in a 50/50 mix of French Vanilla paint and Floating Medium, brush on a transparent layer of paint to the each foam core piece. Let dry.


 Cut several pieces of burlap with pinking scissors. Cutting the burlap with pinking scissors will make it easy to fray the edges. Brush the pieces of burlap with Mod Podge and affix to some open areas on your canvas. Glue on the pieces of foam core to the canvas using Thick and Tacky glue.  Let dry.


Lightly dry brush the burlap and edges of the foam core with Golden's Fluid Acrylic in Iridescent Gold.  Let dry.


Pierce the bottom edge of the bottom piece of foam core in four places (spaced about 4 inches apart) with the tip of your exacto knife, making a small hole for the jump ring. Open each jump ring and attach the small chain at each hole.


 Attach the pearl and clear faceted beads to the bottom of the chain (at the points where the chain dips) with a head pin.


On the top of the canvas, about 2 inches from the edge, screw in the eye screw (one on each end). Tie two pieces of tulle (one gold and one turquoise on each side) through each eye screw and chain link. This will be the hanger for the collage art canvas.


Using a Sharpie paint marker, letter your words on to the wavy pieces of painted foam core.  Tip:  You can sketch out your letters first with a watercolor pencil to know the placement of the letters/words before writing with the Sharpie. 


Draw or trace the bird pattern on to the foam core board. Cut out with exacto knife.


Paint the bird with Mod Podge and cover with the turquoise tissue paper. 


Glue the eye and wing on to the bird (I used two of the pieces from the 5 piece Diamond Accent (Turquoise) Item #: 34708052). Cover the edges of the bird with glue and then dust with gold glitter. Place the twigs under the bird, place on the canvas and glue in place. Let dry.


Dip the tips of the flowers in tacky glue and then dip into gold glitter. 


Glue the flowers onto the canvas. Let dry. You're finished!


ENJOY!!!